How To Customise Your Nike Air Force 1
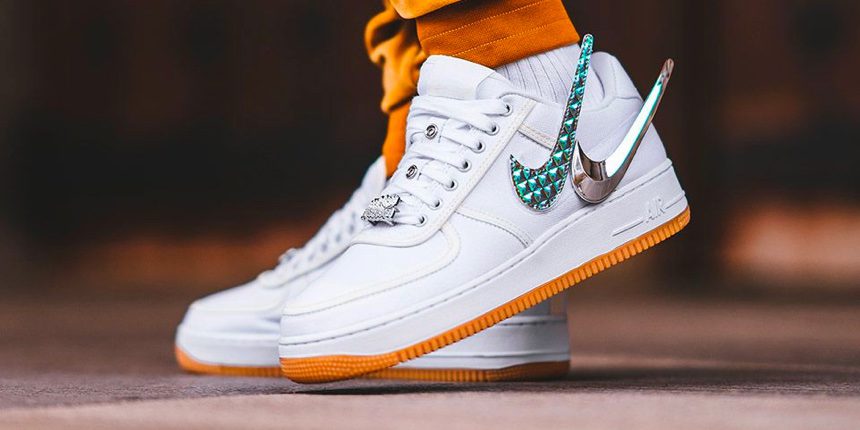
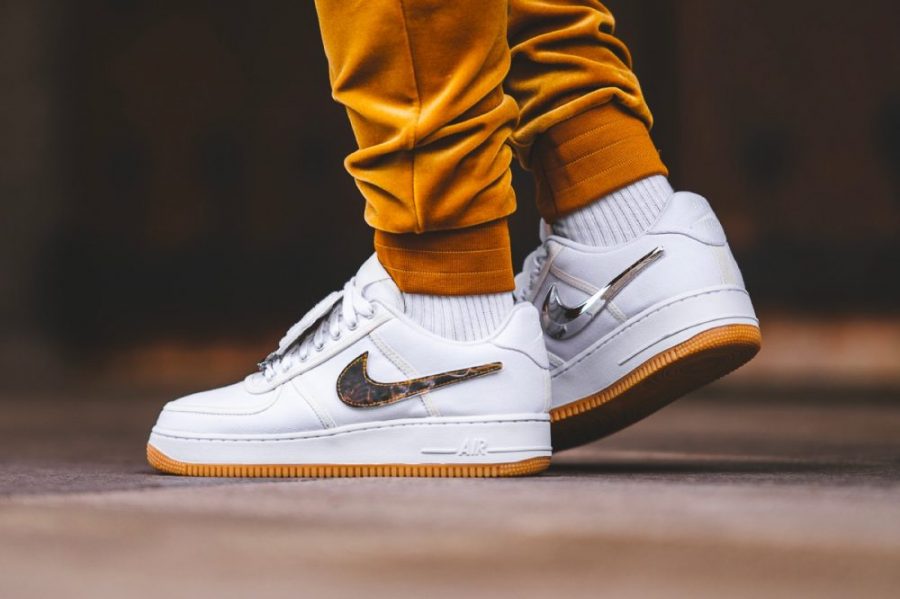
With so many news trainers dropping left, right, and centre, sometimes it’s difficult to stand out from the crowd. That’s while the art of customising your Nike Air Force 1s has become so popular these days. Originally released back in 1982, the AF1 was designed by Bruce Kilgore and has become a hardcourt icon ever since. The OG “Triple White” colourway, in particular, has become well-liked for customisers, acting as something of a blank canvas for many of their creations. If you want to customise your Nike Air Force 1, then you’ve come to the right place. In this article we’ll be covering how to make your Forces truly your own. So, what are you waiting for? Let’s get to it!
How To Customise Your Nike Air Force 1
Before you customise your Nike Air Force 1, you’ll need to do a few things.
What You’re Going To Need
- Nike Air Force 1 sneakers (obviously!)
- Microfibre cloth
- Leather preparer solution
- Acrylic leather paint (such as Angelus Paint)
- Paintbrushes
- Protective coat (such as Angelus Coat)
- Permanent pen or felt-tip
1. Decide On Your Design
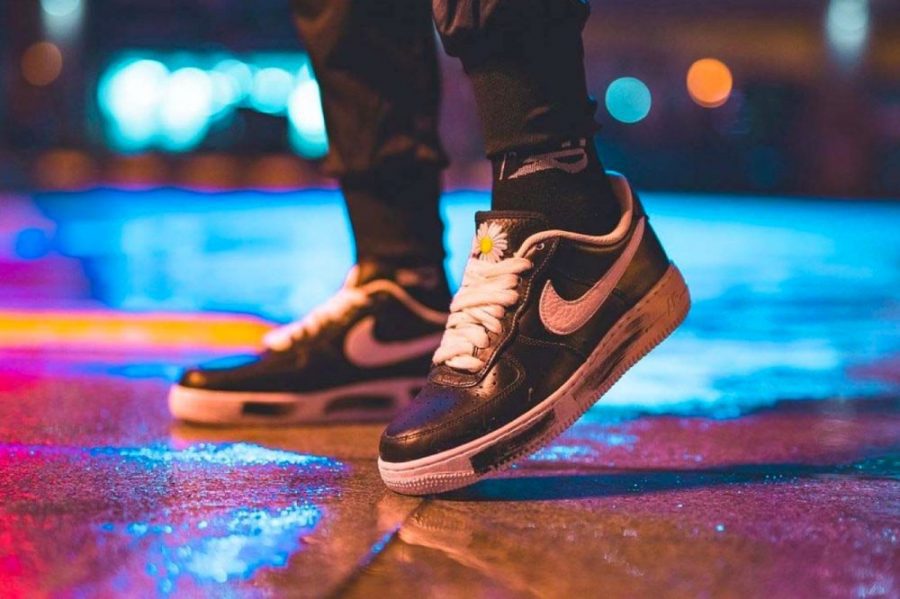
We’re not going to lie to you: This is probably the most difficult step! There are just so many directions that you could take. You’ll also need to choose a colour scheme or go straight up black and white. There are literally no rules, so you can really follow your heart. Make sure you pick a design that will fit the flow of your Air Force 1s, and ensure the colours complement each other.
2. Prepare Your Shoes
Ideally, you should be working on a pair of fresh AF1s, as creases and stains will impact the overall look. Use a leather preparer and microfibre cloth to prepare your shoes for their customisation. Ensure they’re clean and prepped, then you can start painting.
3. Paint Your Base Colours
With a theme and design in mind, you can start painting your trainers. Use acrylic leather paint like the ones from Angelus and get started. Make sure you remove the laces from your shoes before you start painting – you want those crisp and paint-free!
We suggest these paints, because they are widely-recognised to be among the best for these kinds of projects. However, you could always try out other acrylic paints if these are not accessible to you.
When painting, apply thin layers at a time, and allow the paint to fully dry between layers. Depending on the colour you use, you may need up to five layers to get an opaque base. Just be patient, and do not throw on a thick layer, whatever you do.
4. Add Your Unique Design
With the base paint dry, you can start adding intricate details. This can be tricky, depending on the design and overall theme, because everything needs to fit like a glove.
You could use a pencil to mark out the general shape of the design you would like to add if you are not confident. Alternatively, you can just jump right in if you know what you want. If you are hesitant, we would recommend taking a lot of time to plan out everything – just to make sure it’s perfect.
You can use more acrylic paint to add these details, or some kind of pen. Sharpies can work, but try to use products specifically made for shoe customisation – they are likely to last longer and look better.
Remember to have patience with the process and yourself. This is something you should enjoy, so don’t let it become a chore.
5. Apply The Protective Coat
When all your details have been added, you should add a protective coat to make sure your art lasts as long as possible. While this totally isn’t necessary, you are likely to notice a big difference if you don’t do it. Again, Angelus had a great protective coat that will keep your design looking its best. Once that has been applied and dried, you are ready to wow the world with your customised Air Force 1!
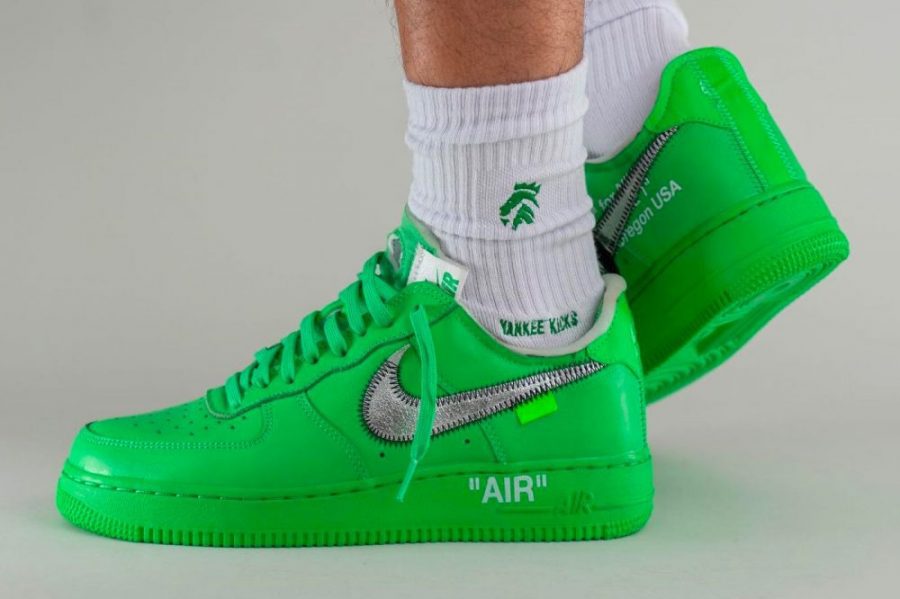
Things To Consider When You Customise Your Nike Air Force 1
- Be realistic with your designs: It’s quite easy to get carried away and forget what is and isn’t physically possible.
- Block colours are cool too: Sometimes, you don’t need to add details if you don’t want to. Block colours are just as cool, and they can really work.
- You don’t need a base block colour: Similarly, you don’t need to have a base block colour if you don’t want it. There are plenty of fantastic designs that just have details on the shoe rather than bold colours.
- Try to stick to a theme and style: This can be difficult if you love a lot of things, but you want your shoes to be cohesive in some way.
Final Thoughts
Customising your Nike Air Force 1 sneakers shouldn’t be daunting, and hopefully this guide will get you from Point A to Point B with no dramas! Based on your skill level and creativity, go with a design that is realistic for you, and one that you won’t fall out of love with. Make sure you have time and patience, because this process can take a while. However, it’s well worth the effort, and you should love the results. Good luck!
If you’re looking for a fresh pair of Air Max 1 to custom, for best results head to the Nike site.
