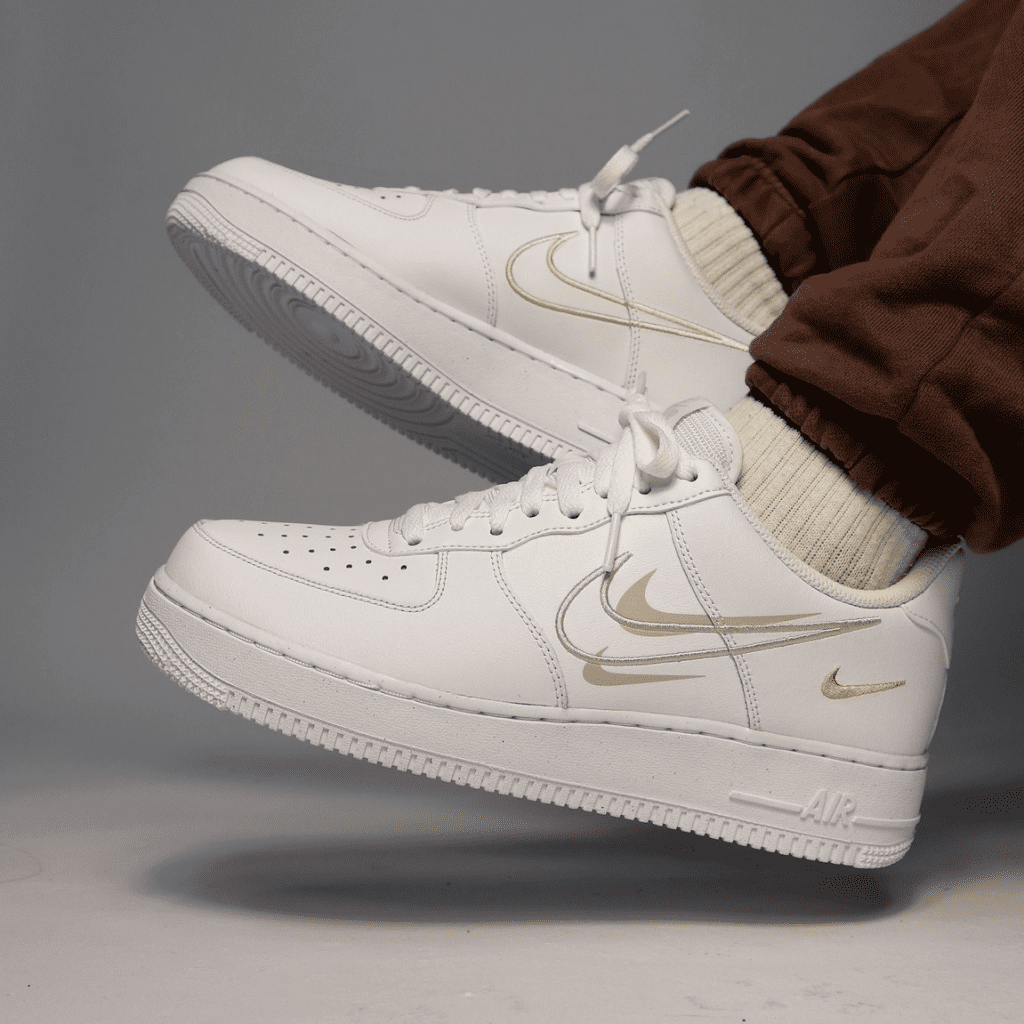
How To Lace Up The Nike Air Force 1

Have you got a brand new pair of Air Force 1’s? We’ve all been there. You buy some beautiful new trainers, and you just can’t get them to lace up how you want them!
This is particularly true of Nike Air Force 1’s. The holes in these sneakers are in very specific places that are slightly different from lots of other shoes.
Don’t fret, though! This article will give you detailed instructions on how to successfully lace up your fresh forces!
How To Lace Up A Pair Of Air Force 1
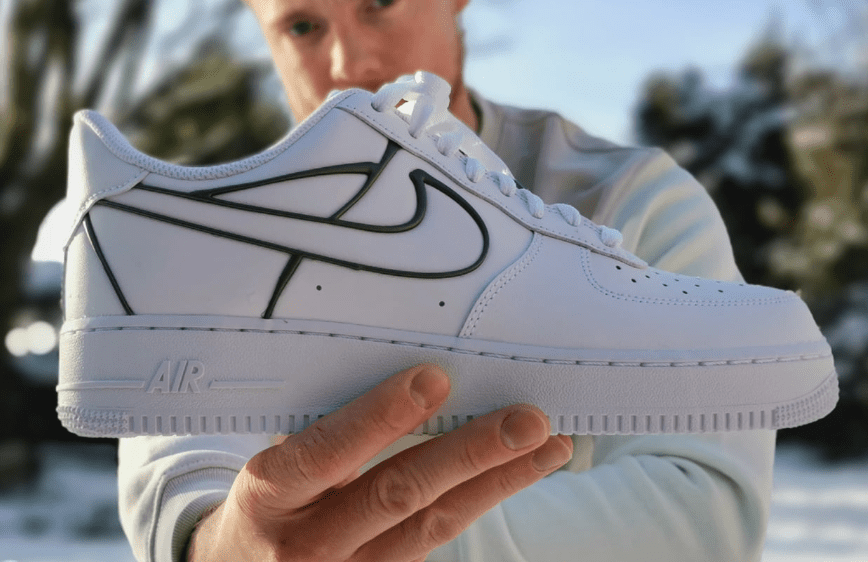
If you’re finding it difficult to lace up your Air Force 1’s, look no further! This article will give you step by step instructions on how to perfectly lace up these iconic kicks.
Step 1
The first step to lacing up your Air Force 1 shoes is to thread the laces through the first holes on the shoe.
You want to thread the lace through the top of the first hole at this stage. Make sure to ensure that the extra lace is equally measured on each side.
This will prevent the lace from becoming uneven when you reach the end, making it very difficult to tie properly.
In order to do this, you will need to make sure that you pull the laces upwards to measure them and ensure that they match up.
The first step is arguably the most important. If you get this wrong, the rest of the lacing will also be incorrect. You will need to follow the ‘over-under’ method, ensuring that you consider this at every step to prevent any mistakes.
Step 2
The next step to lacing your shoes is to thread them through the top of the second hole. You want to cross the laces over one another and then thread them through.
Whichever side you choose to lace first, you will want to make sure that you mirror this on the second shoe. This is to ensure that the two shoes are laced the same, to make them look neat.
Step 3
After you have completed step two, you will need to repeat this step on the next lace hole.
You will need to make sure that you keep the lace flat at all times when you are lacing up the shoes. This will keep the shoe looking nice and neat, as there will be no twists in the lace.
Twists will also make lacing the shoe more difficult as you move further on.
It is very important at this stage that you don’t pull the laces too tight. You want to ensure that there is plenty of space between the laces. This will prevent the shoe from creasing and looking untidy (if your shoes do crease, see our guide for getting the creases out).
Step 4
Once you reach the top of the shoe, you will need to thread the laces through the tab on the tongue. This will ensure that the lace is kept firmly in place.
At this stage, you should follow the same pattern that you followed in Step 1. This will ensure that the shoe is very secure and looks neat.
It is important at this stage of the process that you do not have any twists in the lace as this can make it look very untidy, and will make the shoes very tight.
If you don’t like your shoes too tight, you can skip this stage. This will give the shoes a much looser look and they will feel much looser, too.
Step 5
The next step in lacing up your Air Force 1’s is to finish off the process. You can choose at this stage whether you want to tuck the laces into the shoes or tie them in a bow.
This is up to personal preference, depending on the look you prefer.
When you reach the top of the shoes you have two options:
- Tie a loose bow in the lace. Make sure it is either too loose or too tight. You don’t want the shoe to slip off, but you also don’t want them to be too uncomfortable.
- Tuck the laces in. If you prefer a more relaxed look, you can always tuck the laces in instead of tying them.
How To Prevent Creasing On Your Nike Air Force 1’s
The last thing you want when you have just purchased a new pair of Air Force 1’s is for them to crease after you have only worn them a few times.
Creasing is a common problem with these shoes, so it is important to prevent this where possible.
Besides following the steps above to lace up these Air Force 1’s, there are also a few other ways that you can ensure they do not crease.
- Don’t tread or tie the laces too tight. This can put pressure on the shoes.
- Make sure that they are comfortably laced for your foot size. If you have wider feet it is advised that you thread the laces more loosely.
- Walk carefully. Sometimes, the way you walk can cause the shoes to crease. Make sure that you don’t put too much pressure on the shoes as this can prematurely age the shoe.
Is It Okay To Crease Air Force 1’s?
Creasing is just a sign of wear and tear so you shouldn’t worry too much about it. You can’t keep your brand-new trainers looking brand new forever!
However, if you want to make sure that they don’t crease prematurely, follow the steps above.
Final Thoughts
Lacing up your Air Force 1’s is very important. There’s nothing worse than purchasing a brand-new pair of shoes and ending up lacing them all wrong!
If you follow the instructions above, then you should be able to lace up your Air Force 1’s correctly.
You want to ensure that the shoe doesn’t crease because of the way that it is laced, too. If you follow all of the guidance above, then you should be able to successfully lace your Nike Air Force 1’s!
